
- Home
- Company
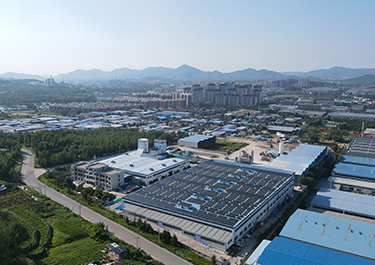 Our FactoryWe have a team of more than 30 talented geotechnical material R&D experts and a 30,000 square meter advanced modern intelligent manufacturing plant.
 - Products
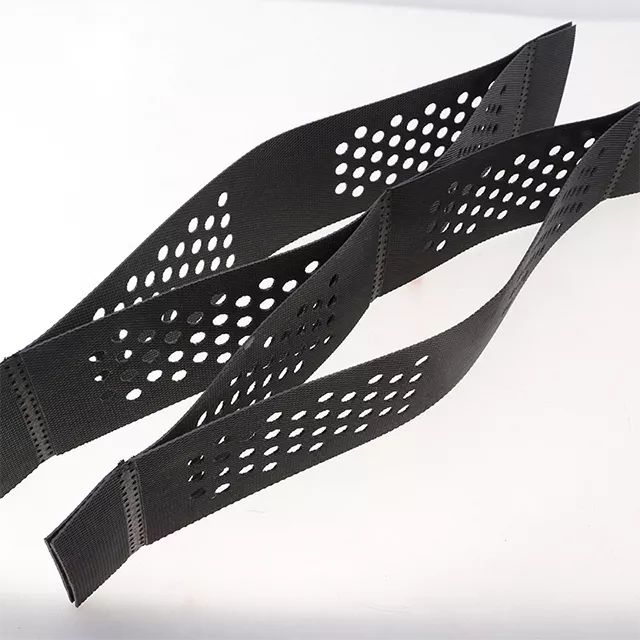 Geocell is a three-dimensional mesh structure made of high-strength polymer sheets (such as HDPE, PP, etc.) through ultrasonic welding. When unfolded, it presents a three-dimensional grid shape.
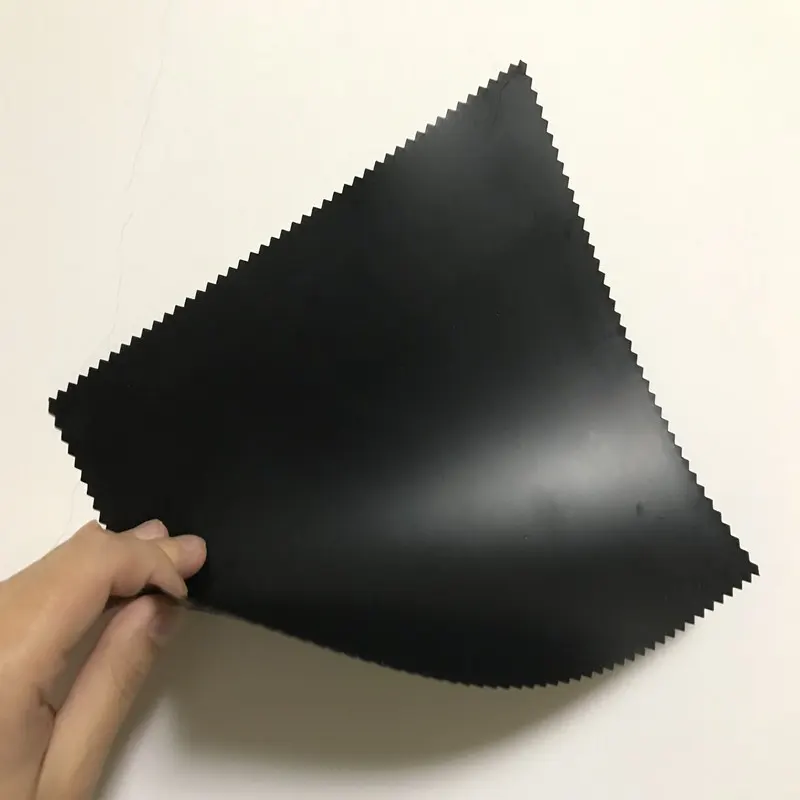 Geomembrane is a thin, extremely low-permeability sheet material made from high-molecular-weight polymers (high-density polyethylene, linear low-density polyethylene).
 - Blog
- Contacts
How to Install Geocell on Slopes: A 6-Step Guide


Learn how to install geocell on slopes with this 6-step guide. From site prep and geotextile placement to anchoring, filling, and compaction—ensure long-term slope stability and erosion control. Lianxiang Group supplies high-quality geocell solutions worldwide.
Slopes are inherently unstable. Without proper reinforcement, they are vulnerable to erosion, surface runoff, and even landslides. Geocells—three-dimensional honeycomb-like structures made from high-density polyethylene (HDPE)—provide an effective solution for slope stabilization by containing and reinforcing fill material such as soil, gravel, or sand.
However, even the best geocell material will only perform as well as the installation behind it. A poorly installed geocell system can shift, bulge, or fail entirely—especially on steep terrain.
This 6-step guide walks you through the complete installation process for geocell on slopes, from site preparation to final compaction.
Materials You'll Need
Before starting, gather the following:
| Material | Purpose |
| Geocell panels or rolls | Primary slope reinforcement material |
| Geotextile fabric | Separation and filtration layer beneath the geocell |
| Ground stakes / anchors (U-shaped, J-shaped, or spiral) | Securing geocell edges and intermediate sections |
| Anchor trench materials | For crest and toe anchorage |
| Infill material | Soil, gravel, sand, or crushed stone |
| Compaction equipment | Hand tamper, vibratory roller, or plate compactor |
| Measuring tools | Tape measure or distance meter |
| Cutting tools | Knives or scissors for trimming geocell panels |
| Safety equipment | Gloves, hard hats, goggles—as required |
Step 1: Site Preparation
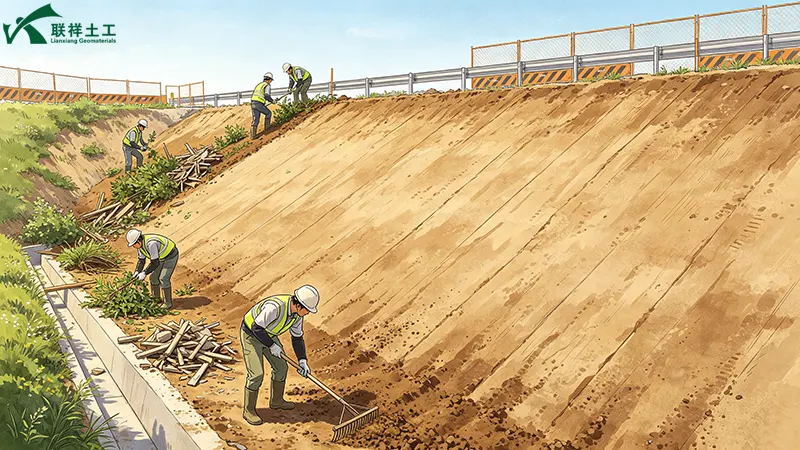
Proper site preparation is the foundation of a successful geocell installation.
- Clear the slope: Remove all vegetation, debris, tree roots, rocks, and loose soil from the area where the geocell will be installed.
- Grade the slope: Shape the slope to achieve a generally even gradient at the desired angle. Fill in dips and level out bumps.
- Address drainage: If groundwater issues are present, install drainage facilities to prevent water accumulation beneath the geocell.
- Excavate anchor trenches (if required): At the top (crest) and bottom (toe) of the slope, excavate anchor trenches a minimum of 300mm (1') wide x 300mm (1') deep, set back a minimum of 600mm (2') from the edge of the slope crest.
Pro tip: Take note of soil type, slope angle, drainage patterns, and expected loads during this phase. Soft or unstable soil is common on many sites—and that's exactly where geocells shine.
Step 2: Install Geotextile Fabric
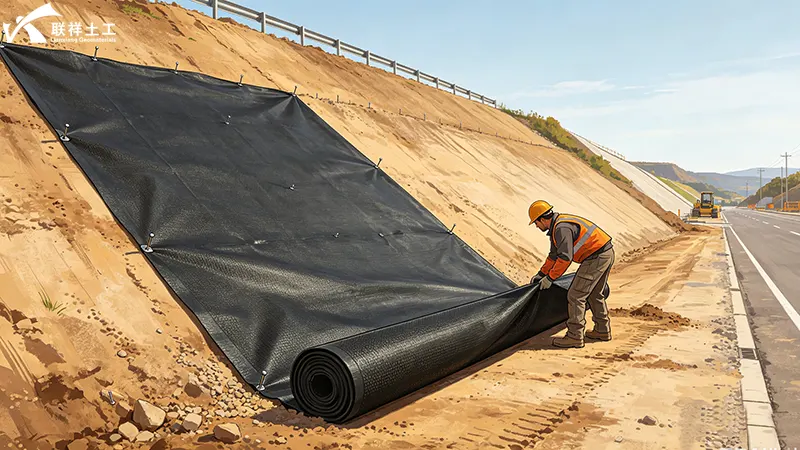
A geotextile layer beneath the geocell serves as a filtration and separation layer—it allows water to pass through while preventing soil migration and enhancing drainage.
- Lay the fabric: Roll out geotextile fabric over the entire prepared slope area. For non-vegetated finishes or installations above an impermeable membrane, use a nonwoven geotextile.
- Secure the fabric: Use ground stakes or sandbags to hold the geotextile temporarily in place.
- Overlap adjacent rolls: Overlap adjacent rolls by a minimum of 150mm (6").
- Anchor the fabric: Secure the geotextile within the anchor trenches at both the crest and toe of the slope.
Step 3: Deploy and Expand the Geocell
With the geotextile in place, it's time to position the geocell.
- Plan the layout: Geocell panels come collapsed in sheets or rolls. Plan the orientation, expansion sequence, and anchor spacing before you begin.
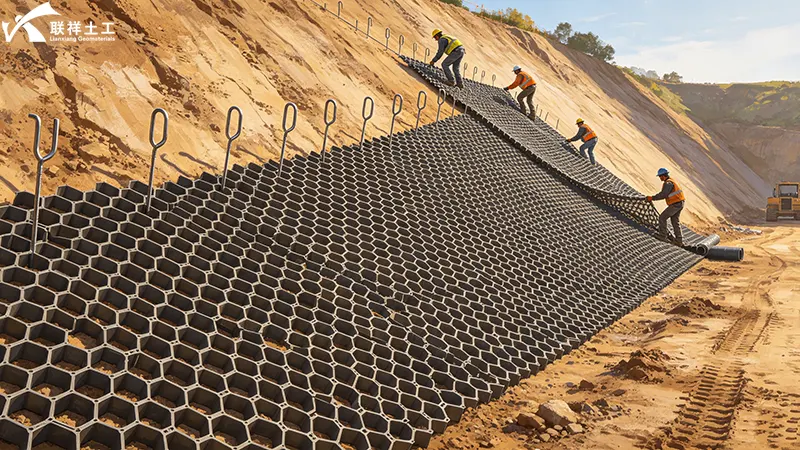
- Position from the top: Always work from the top of the slope downward. Pre-cut or pre-connect panels at the top of the slope to cover the slope section being lined.
- Expand the geocell: Unfold and expand the geocell panels to cover the slope. Pull evenly to ensure each cell is fully opened and uniformly expanded.
- Maintain proper orientation: Ensure the geocell direction is perpendicular to the slope surface, and keep the geocell flat and stretched to avoid wrinkles and twists.
- Connect sections: Use connection clips, bolts, or ATRA® Keys (inserted through adjoining cell walls and locked) to secure adjacent geocell sections together, forming a cohesive structure.
Pro tip: For slopes or challenging terrain, work in small sections from the top down. Breaking a slope into manageable areas keeps panels in place while infill is added.
Step 4: Anchor the Geocell
Proper anchoring prevents the geocell from sliding or shifting during filling and throughout its service life.
- Secure the upper edge: Place one end of the geocell into the crest anchor trench and fix it to the bottom and walls of the trench with bolts, nails, or anchors.
- Secure edges and perimeter: Use U-shaped nails, steel nails, J-pins, or spiral anchors to fix the edges of the geocell to the ground at the top, bottom, and sides of the slope.
- Place intermediate anchors: Add anchors throughout the geocell grid—typically 1–2 meters apart—to ensure stability, especially in the middle sections.
- Consider additional reinforcement for steep slopes: For slopes or areas exposed to heavy loads, use extended anchors, steel ropes, or tendon systems at the top for added anti-sliding strength.
- Anchor trench backfill: Once the geocell is secured, backfill the anchor trenches.
Pro tip: For soft to firm ground conditions, 500mm long, 8mm diameter mild steel U-bars are a standard fixing method.
Step 5: Fill the Geocell
Filling is where the geocell transforms from a plastic grid into a load-bearing composite structure.
Select appropriate fill material: Choose based on project requirements:
- Soil / Topsoil: For vegetated slopes—allows plant growth and enhances aesthetics
- Gravel / Crushed stone: Ideal for areas requiring high drainage capacity and durability
- Recycled materials: Crushed concrete or other recycled aggregates for sustainable construction
Avoid fill material with large particles or sharp objects that may puncture the geocell
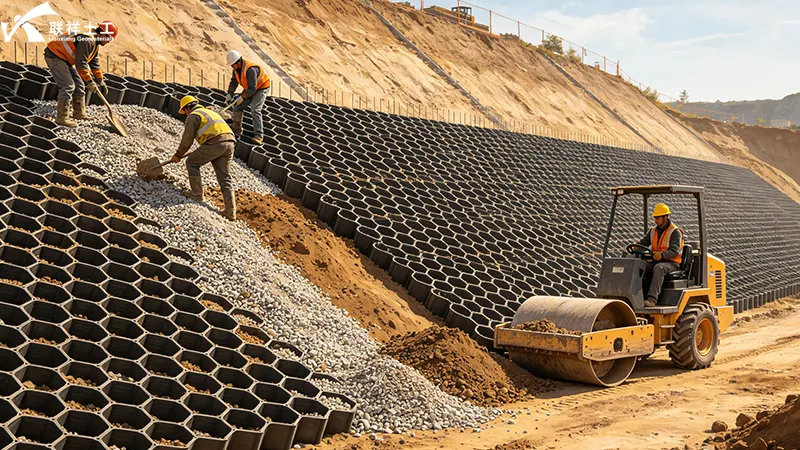
Fill from the top down: Begin filling from the top of the slope, working your way down. Fill from the uphill side of the geocell to ensure even distribution.
Fill slightly above cell height: The fill height should slightly exceed the height of the geocell—typically about 5cm higher—to ensure all cells are filled completely.
Avoid heavy machinery on unfilled geocells: Never use heavy machinery to compact unfilled geocells—this can damage the structure.
Step 6: Compact and Finish
Compaction locks the infill material in place and ensures long-term stability.
- Compact layer by layer: Use a light compaction machine, vibrating roller, or hand tamper to compact the fill material. For slopes, compact the material from top to bottom.
- Check for gaps: Inspect the entire installation for any gaps or underfilled cells—fill them as needed.
- Secure loose edges: Ensure all edges are securely anchored.
- Vegetation (optional): If desired, plant vegetation over the filled geocells to enhance stabilization and aesthetics.
- Final inspection: Review the entire installation to ensure all cells are filled, connections are secure, anchors are properly installed, and compaction meets required standards.
Quick Reference: 6-Step Installation at a Glance
| Step | Action | Key Points |
| 1 | Site Preparation | Clear debris, grade slope, excavate anchor trenches |
| 2 | Install Geotextile | Lay fabric as separation/filtration layer |
| 3 | Deploy Geocell | Expand from top down, connect sections, avoid wrinkles |
| 4 | Anchor | Secure edges, perimeter, and intermediate points |
| 5 | Fill | Fill from top down, slightly above cell height |
| 6 | Compact & Finish | Compact layer by layer, inspect, vegetate if needed |
Tips for Success
- Weather conditions: Install geocells during dry weather to ensure optimal soil conditions and ease of installation.
- Proper compaction: Thorough compaction prevents future settlement and ensures long-term stability.
- Regular maintenance: Periodically inspect the slope for signs of erosion or damage and perform necessary maintenance.
- Follow manufacturer guidelines: Always refer to the specific geocell product's installation manual and ASTM standards.
Final Thoughts
Installing geocell on slopes is a proven, effective method for slope stabilization, erosion control, and soil reinforcement. By following this 6-step guide—from thorough site preparation to proper compaction—you can ensure a durable installation that will perform for years to come.
The key to success lies in the details: proper anchoring, even expansion, correct fill material selection, and thorough compaction. When done right, a geocell-reinforced slope becomes a unified, load-bearing structure that resists erosion, distributes loads evenly, and maintains its integrity even under challenging conditions.
Lianxiang Group supplies high-quality HDPE geocells, geotextiles, geomembranes, and geogrids for slope protection, soil stabilization, and erosion control projects worldwide. Our technical team can help you select the right geocell size, depth, and anchoring system for your specific slope conditions. Contact us for free samples, technical data sheets, or a customized solution.
Written by
SHANDONG LIANXIANG ENGINEERING MATERIALS CO., LTD.
Kyle Fan
WhatsApp:+86 139 5480 7766
Email:admin@lianxiangcn.com
-
WhatsApp
-
E-MailE-Mail:admin@lianxiangcn.com
-
WeChatWeChat:18554180188