
- Home
- Company
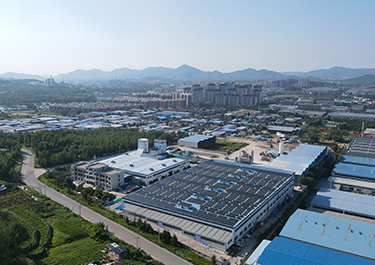 Our FactoryWe have a team of more than 30 talented geotechnical material R&D experts and a 30,000 square meter advanced modern intelligent manufacturing plant.
 - Products
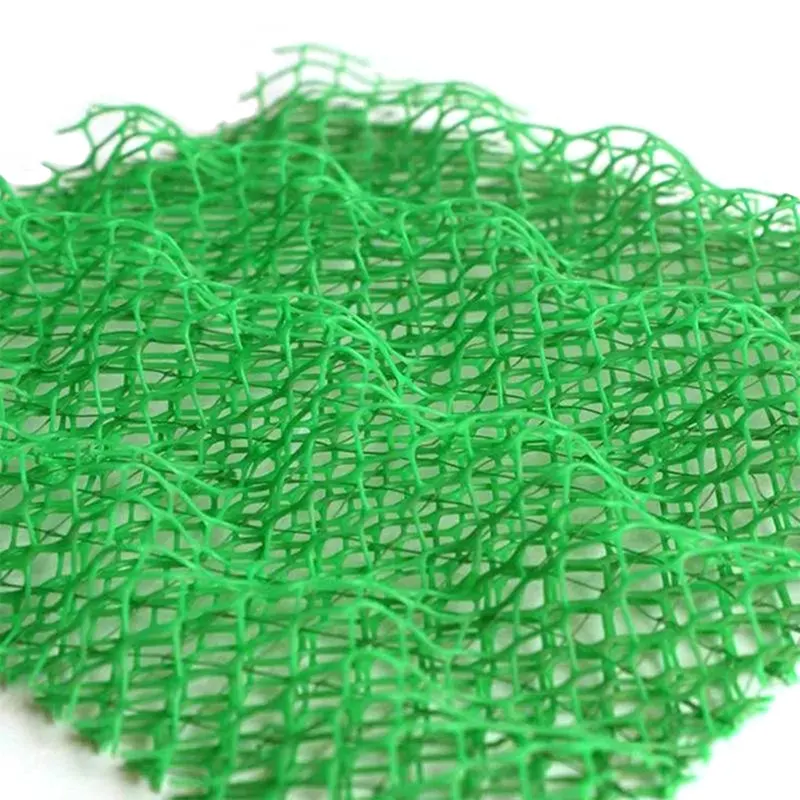
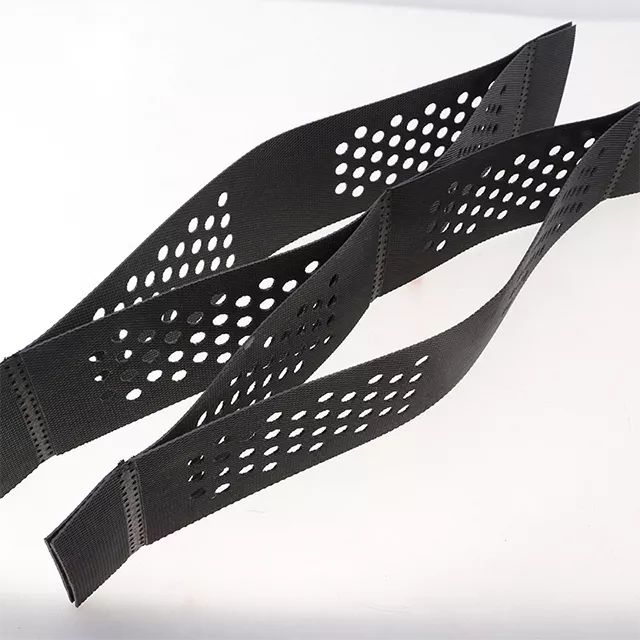 Geocell is a three-dimensional mesh structure made of high-strength polymer sheets (such as HDPE, PP, etc.) through ultrasonic welding. When unfolded, it presents a three-dimensional grid shape.
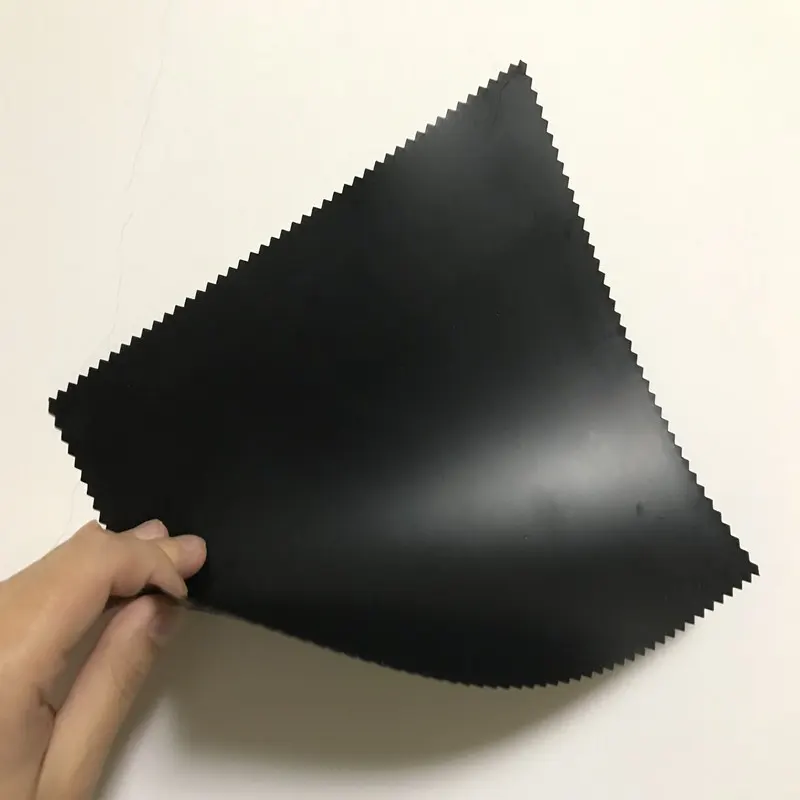 Geomembrane is a thin, extremely low-permeability sheet material made from high-molecular-weight polymers (high-density polyethylene, linear low-density polyethylene).
 - Blog
- Contacts
Geomembrane Installation: 8 Common Mistakes to Avoid


A geomembrane is the heart of any containment system – a single installation error can compromise the entire barrier, leading to expensive repairs, environmental penalties, and project delays. Industry statistics show that over 90% of geomembrane failures originate from welding defects and subgrade preparation oversights.
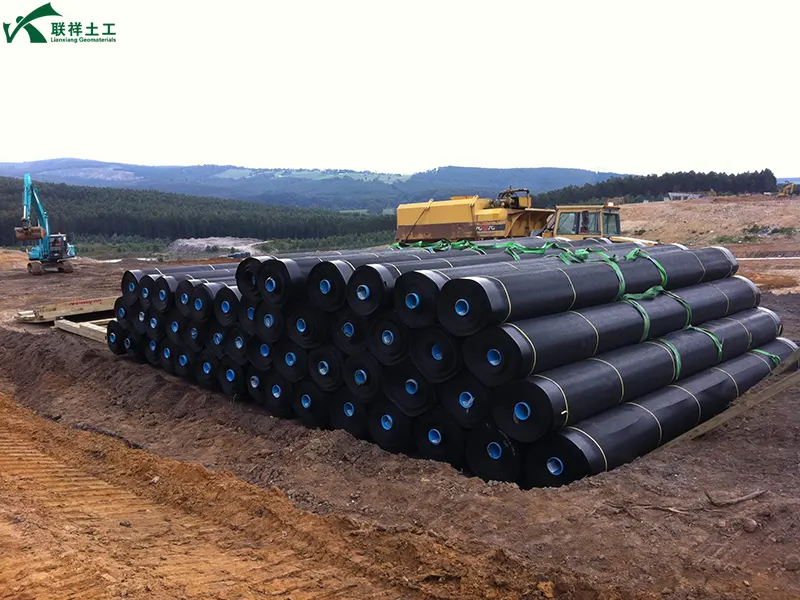
To help you achieve a flawless installation, here are the 8 most common mistakes and, more importantly, how to prevent them.
Mistake 1: Inadequate Subgrade Preparation
- What goes wrong: The subgrade is uneven or contains sharp objects – tree roots, gravel, rebar ends, glass shards. Alternatively, the base is poorly compacted and prone to differential settlement.
- Why it is fatal: Sharp protrusions create stress points that can puncture the geomembrane under overburden or hydrostatic pressure. Organic matter left in the subgrade may decompose, generating gas that pushes the liner upward.
Correct practice:
- Thorough clearing: Remove all sharp debris; level cut slopes and compact fill slopes.
- Smooth and compact: Achieve a firm, uniform surface with no objects >25 mm in vertical depth within the subgrade. Compaction should reach at least 95% of maximum dry density.
- Cushion layer: Place a layer of gravel, crushed stone, or sand beneath the geomembrane.
- Protective geotextile: Use a non-woven geotextile as a cushion between the subgrade and the geomembrane to prevent puncture.
Mistake 2: Defective Seams and Welding
- What goes wrong: Seams have missed sections, burns, over-heating, wrinkles, or overlaps. Welding parameters (temperature, speed) are poorly controlled, resulting in weak bonds. Incompatible filler rods are used.
- Why it is fatal: Seams are the weakest link in a lining system. Substandard welds can crack, delaminate, or become preferential leakage paths. Contaminated or incompatible materials at the weld interface significantly reduce bond strength.
Correct practice:
- Surface cleaning: Thoroughly clean and dry the overlap area before welding – remove all stabilisers, antioxidants, processing waxes, and dust.
- Parameter optimisation: Adjust welder temperature and speed precisely according to geomembrane thickness and ambient conditions.
- Equipment check: Clean the weld shoe and ensure the machine is in good working order.
- Standard procedures:
- Overlap width: Typically 0.3m to 0.9m depending on subgrade conditions.
- Welding method: Use dual-track hot-wedge welding wherever possible. Extrusion welding is required for PVC connections; hot-air guns are not recommended.
- Full inspection: Conduct non-destructive testing (air pressure, vacuum, spark) and destructive testing (peel and shear strength) on all seams.
Mistake 3: Improper Unrolling and Lay-out
- What goes wrong: The geomembrane is dragged forcefully across the subgrade, causing scratches. Wrinkles are left intentionally or created during lay-out.
- Why it is fatal: Scratches directly compromise integrity. Wrinkles become stress concentration points under load or water pressure, potentially leading to cracking.
Correct practice:
- Gentle handling: Avoid dragging; adjust the sheet angle to control overlap width.
- Moderate tension: Do not pull the liner too tight – leave a slight wave at the ends for thermal expansion. Lay tighter in cold weather, looser in hot weather.
- Lay-and-weld same day: Only deploy what can be seamed and anchored that same day to minimise exposure.
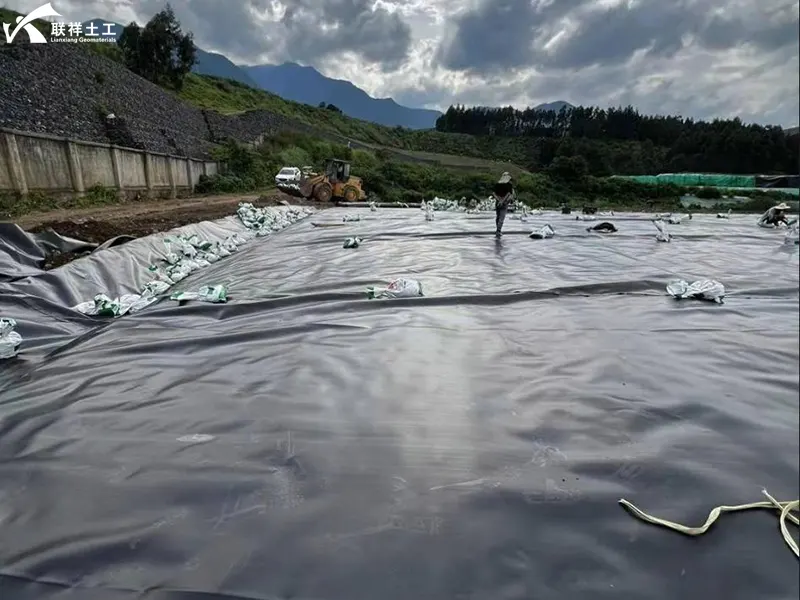
Mistake 4: Neglecting Protection of Installed Liner
- What goes wrong: Workers walk on the liner with studded boots; vehicles or machinery drive directly on the membrane. Heavy objects are dropped onto the surface.
- Why it is fatal: Sharp boot nails or metal tracks puncture or tear the geomembrane. Even superficial scratches can grow into leakage points over time.
Correct practice:
- Footwear control: Prohibit studded boots – only soft-soled shoes are allowed on the liner.
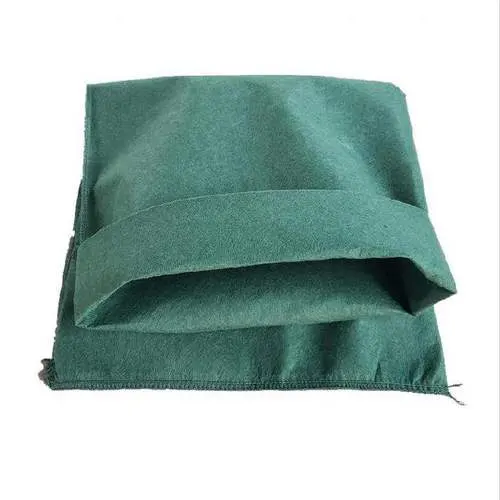
- Vehicle isolation: No vehicles or machinery on unprotected liner. If access is essential, lay plywood sheets or sandbags as protection.
- Immediate ballasting: Place sandbags on the liner as soon as it is laid to prevent wind uplift.
- Minimise traffic: Keep foot traffic and tool movement to a minimum.
Mistake 5: Hiding Accidental Damage
- What goes wrong: Workers smoke on site; cigarette butts burn holes in the liner. When damage is discovered, it is concealed out of fear of penalties.
- Why it is fatal: Even a small hole from a cigarette will become a leakage conduit once the pond is filled. Concealment prevents timely repair, leaving the defect undetected.
Correct practice:
- Strict no-smoking: Enforce a ban on lighters and cigarettes in the liner area.
- “No-blame” reporting policy: Encourage workers to report any damage immediately – assure them that repairs will be made without personal penalty.
- Regular patrols: Assign supervisors to continuously inspect the installed liner for new damage.
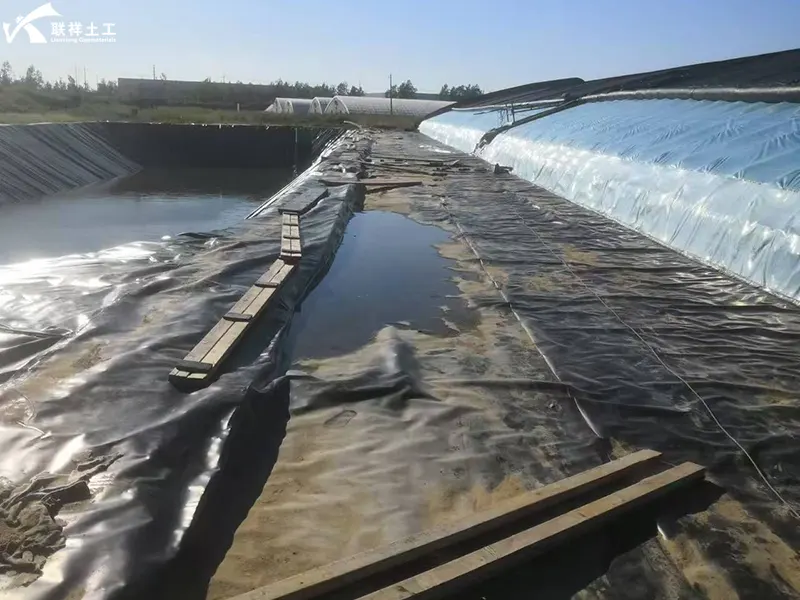
Mistake 6: Ignoring Weather and Climate Conditions
- What goes wrong: Work continues during rain, snow, or high humidity; the liner is welded while still wet. Wind catches the sheet, causing shifts. Extreme heat causes excessive expansion.
- Why it is fatal: Moisture creates weak, unreliable welds. Wind can displace or wrinkle the liner. Heat makes the material too soft and difficult to handle, while cold makes it brittle and prone to cracking.
Correct practice:
- Choose suitable weather: Schedule installation during dry, mild conditions.
- Stop in rain: Halt all laying and welding when it rains.
- Dry thoroughly: If the liner gets wet, ensure it is completely dry before welding.
- Wind anchoring: Immediately ballast the laid liner with sandbags.
- Avoid midday heat: Postpone welding during the hottest part of the day in summer.
Mistake 7: No Effective Weld Testing after Seaming
- What goes wrong: Seams are inspected only visually – no air, vacuum, or spark tests are performed.
- Why it is fatal: Visual inspection cannot detect internal defects like cold welds, voids, or incomplete fusion. These hidden flaws will evolve into leaks under service pressure.
Correct practice:
- Dual QA/QC system: Implement both Construction Quality Control (CQC) and Construction Quality Assurance (CQA) .
- Non-destructive testing: Perform air pressure tests on hot-wedge seams and vacuum box tests on extrusion seams.
- Destructive testing: Take periodic samples for peel and shear strength tests.
- Electrical methods: For exposed geomembranes, use spark testing or ponding to locate pinholes.
Mistake 8: Poor End Anchoring
- What goes wrong: The geomembrane is not anchored properly at the top edge. On slopes, the liner slides, creeps, or wrinkles.
- Why it is fatal: Inadequate anchorage allows the entire liner to slide under its own weight and the overburden, pulling seams apart and destroying the containment system.
Correct practice:
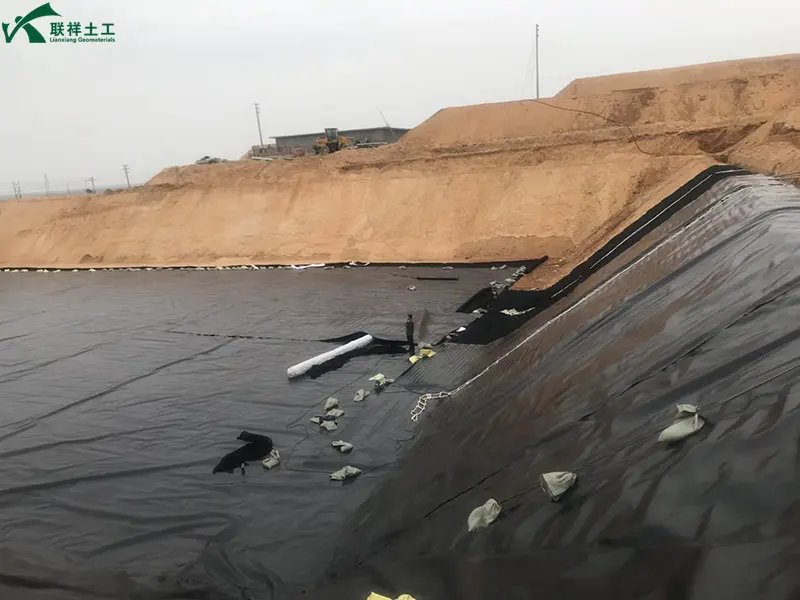
- Secure anchorage: Ensure the top edge is firmly fixed in the anchor trench.
- Design anchor trenches: Excavate and backfill trenches as per the design to hold the liner ends.
- Slope precautions: Pay extra attention to fixation on slopes – use anchor slots or concrete deadmen if needed.
Summary: The Three Pillars of a Successful Installation
- Skilled crew – Use a trained, experienced, and certified installation team. All personnel should pass regular competency assessments.
- Strict quality control – Implement a full-process CQC system covering subgrade, welding, and protection.
- Independent oversight – Engage a third-party CQA inspector. Projects with rigorous CQA have reported leakage densities as low as 4 leaks per hectare, compared to 22 leaks per hectare without proper oversight.
A flawless geomembrane installation is not about luck – it is about attention to every detail, from the first load of fill to the final weld test.
Lianxiang Group supplies high-quality HDPE and LLDPE geomembranes, geocells, and geotextiles for civil and environmental projects worldwide. With our own 50-person professional installation crew, we offer end-to-end support – from material selection and design to on-site construction and after-sales service. Contact us for expert advice tailored to your site conditions.
Written by
SHANDONG LIANXIANG ENGINEERING MATERIALS CO., LTD.
Kyle Fan
WhatsApp:+86 139 5480 7766
Email:admin@lianxiangcn.com
-
WhatsApp
-
E-MailE-Mail:admin@lianxiangcn.com
-
WeChatWeChat:18554180188